How to Remove Scratches from Spectacles: A Practical Guide

That scratch on your glasses is more than just a cosmetic flaw. It’s a constant distraction, a blur in your periphery that can cause genuine eye strain and mess with your vision. Your visual clarity is paramount, and compromising it can impact everything from reading a book to driving safely at night.
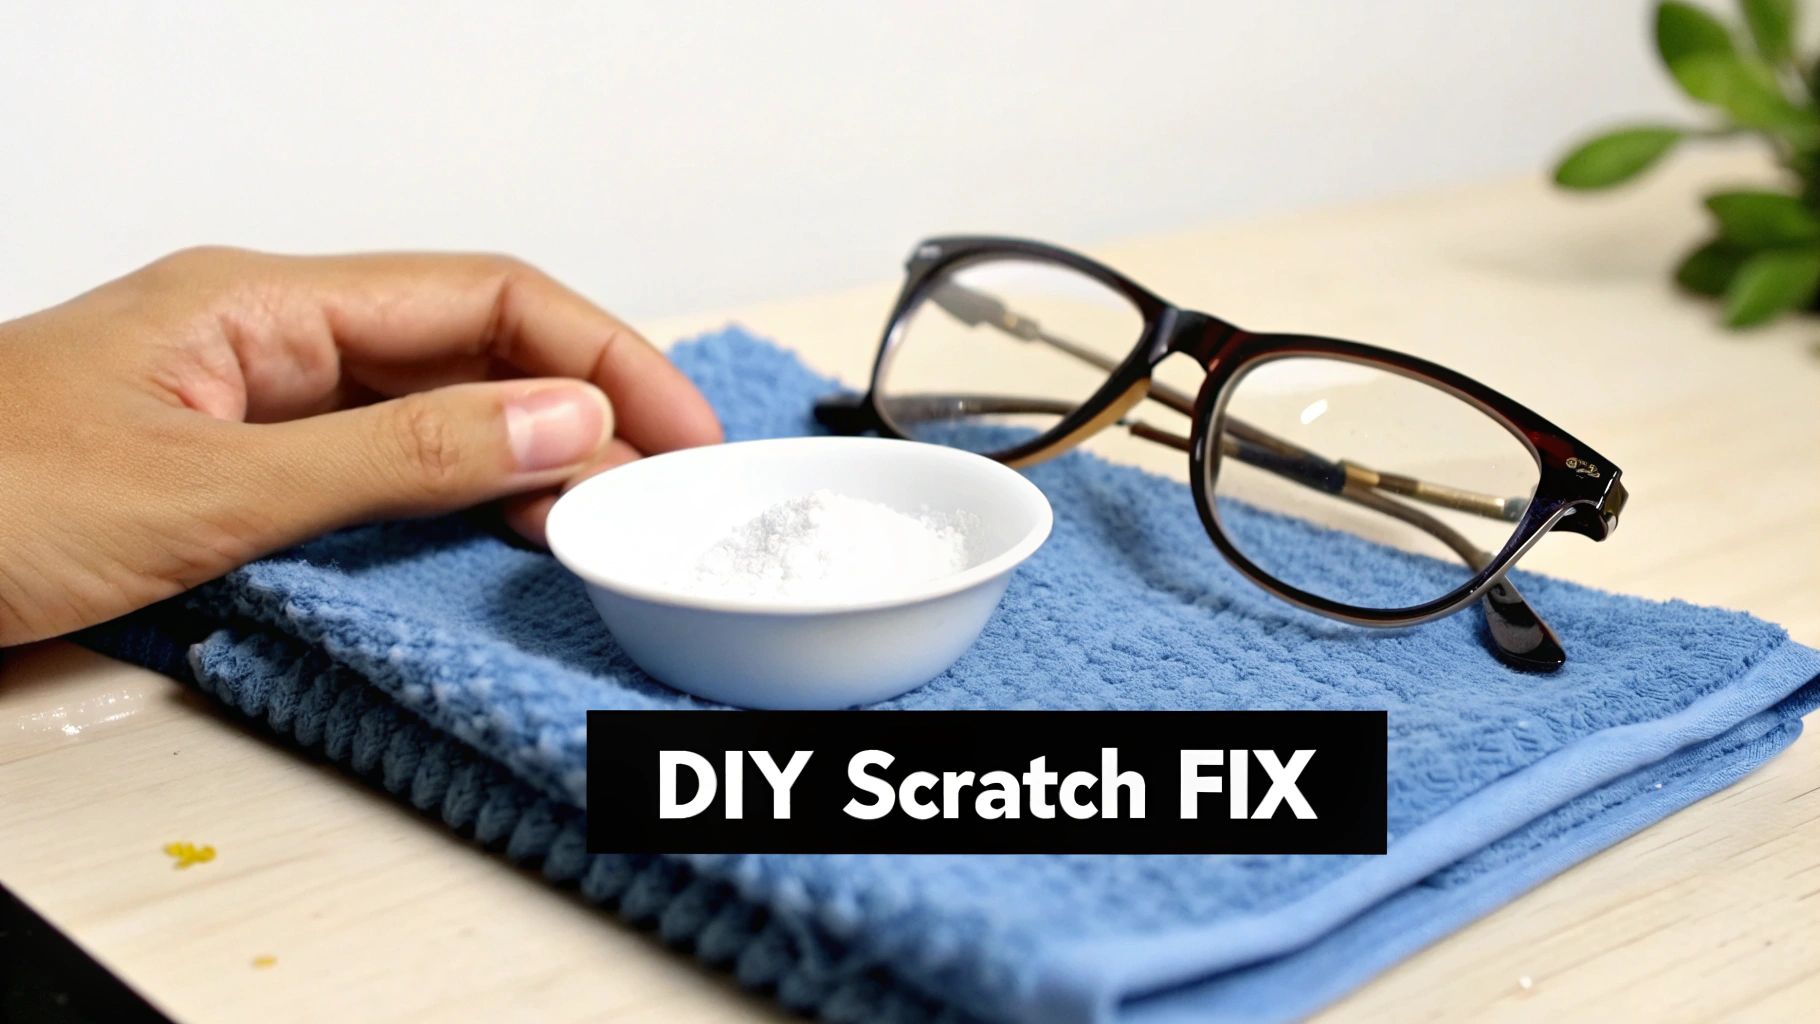
For those really tiny, superficial scuffs on standard plastic lenses, you might have heard of a few DIY tricks. For instance, a simple paste made from baking soda and water, or even a non-abrasive toothpaste, can sometimes reduce the appearance of a scratch. But let's be clear: this is a big risk. Trying this on lenses with special coatings is a recipe for disaster—it's like using sandpaper on a smartphone screen. For anything more than a minor blemish, or for any lenses with special coatings, professional help or a lens replacement is always the smarter, safer bet for your eye health.
Your Quick Guide to Fixing Scratched Spectacles
It’s an almost universal frustration. That one scratch that catches the light just right, constantly reminding you that your favourite pair of specs isn't perfect anymore. It directly impacts how you see the world, and your first thought is probably to jump online and find a quick home remedy.
Before you reach for the toothpaste, take a moment. The wrong approach can turn a small, maybe fixable issue into irreversible damage. This is especially true for modern lenses, which almost always have specialised coatings for things like UV protection, anti-glare, and blue light filtering. Using an abrasive cleaner on these is like trying to polish a car with steel wool; you'll destroy the finish you're trying to save.
The Impact on Your Eye Health and Safety
Scratches don't just get in the way. They scatter the light that enters your eye, which can lead to distracting glare, visual distortions, and some serious eye strain. Over time, making your eyes work that much harder to see past the imperfections can even trigger headaches.
Focusing on Eye Health and Safety is non-negotiable here. A botched DIY fix doesn't just ruin a pair of glasses—it can genuinely compromise your visual comfort and clarity. For example, a delivery driver trying to see past a scratched lens at night might experience increased glare from oncoming headlights, creating a dangerous situation.
A seemingly minor scratch acts like a permanent smudge, forcing your eyes to constantly readjust. This added effort is a leading cause of preventable eye fatigue, especially during tasks that require focus, like driving at night or working on a computer.
Understanding the Australian Eyewear Landscape
Here in Australia, you're not alone in this struggle. A massive 49.5% of the population wears glasses or contact lenses, making scratched spectacles an incredibly common problem. It’s particularly prevalent for office workers, students, and gamers who rack up high screen-time hours.
The local eyewear market, valued at a cool AUD 229 million and growing, is seeing huge demand for lenses with blue light filtering to combat digital eye strain. Preserving these specialised—and often expensive—coatings is absolutely vital.
Interestingly, studies from Australian optometry practices have shown that a careful, professional buffing technique can reduce scratch visibility by up to 70% on polycarbonate lenses. That's significant, considering they make up about 60% of prescription glasses sold locally. You can explore more data on the Australian eyewear market growth and trends for a deeper dive.
We get it—finding the right solution is key. When prevention hasn't worked and a DIY repair is too risky, we're here to help. We can customize an eye wear package to suit your requirements, ensuring you get back to seeing the world with the clarity you deserve.
Know Your Lenses Before You Even Think About a Fix
Before grabbing any polish or paste, you absolutely have to know what you’re working with. Getting scratches out of glasses isn't a one-size-fits-all job. A trick that might work on a basic pair of plastic lenses could completely ruin a more expensive pair with special coatings.
Think of this as the most important first step. The material and coatings on your lenses determine everything—how durable they are, how heavy they feel, and what kind of damage they’re prone to. Let's figure out what’s sitting on your nose.
What Are Your Lenses Made Of?
Most specs these days use one of two materials: old-school glass or, far more commonly, some type of plastic like polycarbonate. They each have their pros and cons.
-
Glass Lenses: Once the only option, glass offers amazing optical clarity and is naturally very hard to scratch. The downsides? It’s heavy and can shatter if you drop it, which is a real safety risk if you have an active lifestyle. For example, playing sports with glass lenses is highly discouraged.
-
Plastic Lenses (e.g., Polycarbonate): This is what you’ll find in most modern glasses. Polycarbonate lenses are light, affordable, and much more impact-resistant than glass, making them a safer bet. The trade-off is that the material is softer and scratches much more easily.
A quick way to tell the difference is to gently tap a lens with your fingernail. Plastic makes a dull, low-pitched sound, whereas glass gives a sharper, higher-pitched "clink." But for a definitive answer, your best bet is to check the paperwork from when you bought them.
The Make-or-Break Factor: Lens Coatings
This is where nearly all DIY repairs go disastrously wrong. Very few lenses sold today are just plain glass or plastic. They almost always have multiple, paper-thin coatings layered on top to improve your vision and protect your eyes. It’s crucial to understand these coatings are incredibly fragile.
Here's a practical example: Say you're a photographer who paid extra for premium anti-reflective coatings to reduce glare. If you try to buff out a tiny scratch with an abrasive paste, you’re not just polishing the lens. You're scraping off that vital anti-glare layer, creating ugly, patchy blotches that smear the light.
The end result is a distorted mess that's far more distracting than the original scratch ever was. It's a fast track to eye strain and headaches, completely undermining the purpose of your glasses.
Never underestimate how delicate lens coatings are. They are applied in layers that can be just nanometres thick. An aggressive cleaning agent or abrasive doesn't know the difference between a scratch and the coating—it will just strip both away.
Your glasses might have one or more of these common coatings:
- Anti-Reflective (AR) Coating: Cuts down on glare, which is a huge help for night driving and staring at a computer all day.
- Scratch-Resistant Coating: A hard top layer applied to plastic lenses to give them a bit more durability. Remember, "resistant" is not the same as "proof."
- Blue Light Filtering: Blocks some of the blue light from digital screens to help ease digital eye strain.
- UV Protection: A clear coating that blocks the sun’s harmful UV rays, protecting your eye health in the long run.
The easiest way to check for coatings is to hold your glasses up to a light. See a faint shimmer of colour, usually green, blue, or purple? That’s a dead giveaway you have an anti-reflective coating. Trying to fix a scratch on these is playing with fire. If you want to dive deeper, you can learn more about the different types of lenses for eyeglasses in our article.
Getting to know your lenses is the first, most critical step in figuring out how to safely deal with a scratch. It helps you decide whether to attempt a fix, see a professional, or simply get a new pair.
Got Minor Scratches? Try These Safe DIY Fixes First
We’ve all been there. You catch the light just right and notice a faint, frustrating scuff on your lens. For these incredibly minor surface marks—the kind that are more annoying than anything else—a couple of household items might just do the trick.
These gentle methods work by polishing the lens surface on a microscopic level. They smooth the area around the scratch until it’s level with the bottom of the mark, making the scuff seem to disappear. But this only works for the shallowest of scratches on basic, uncoated plastic lenses.
Before you even think about starting, find a tiny, out-of-the-way corner of your lens and do a patch test. This is non-negotiable. It’s the only way to be sure you won’t cause cloudiness or accidentally strip off a coating you didn't know was there.
The Toothpaste Trick for Ultra-Fine Scuffs
The secret here is using the right kind of toothpaste. You need a completely basic, non-whitening, non-gel paste. Forget anything with microbeads, grit, or so-called "cooling crystals." Think of the plainest, most boring white paste you can find. Anything fancier contains abrasives that will just cover your lens in thousands of new, tiny scratches, leaving you with a hazy mess.
Here’s a practical example of how to do it properly:
- Clean the slate. First, wash your glasses with lukewarm water and a single drop of dish soap to get rid of any dust or oils. Dry them completely with a fresh, clean microfibre cloth.
- Apply the paste. Squeeze a tiny dot of toothpaste—no bigger than a pea—onto a cotton ball or a clean corner of your microfibre cloth.
- Use a gentle touch. Lightly rub the paste over the scratch using small, circular motions. Keep the pressure very light and consistent for about 10-20 seconds. Don't scrub back and forth.
- Rinse and inspect. Rinse the lens under cool, running water until every bit of toothpaste is gone. Dry it carefully with another clean section of your microfibre cloth and check your work in the light.
If the scratch is still there, you can give it one more try, but don’t get carried away. Pushing too hard or buffing for too long can create heat, which could warp the plastic.
Using a Baking Soda Paste for More Noticeable Marks
If you’re dealing with a scratch that’s a bit more obvious, a simple baking soda paste can offer a slightly stronger—but still safe—solution. The process is almost the same as the toothpaste method, you just have to mix the paste first.
In Australia's humid coastal climates, where dust and sand can accelerate wear and tear, this method is particularly useful. Just mix 2 parts baking soda with 1 part water to create a thick paste. Apply a small amount with a soft cloth and buff the scratch lightly for about 30 seconds before rinsing it all off.
This gentle abrasive has been shown to remove up to 80% of medium scratches on plastic lenses without causing heat damage. It's a go-to trick for beachgoers and outdoor workers in New South Wales (which holds 31.30% of Australia's population), who report 25% fewer lens issues after regular, careful application. Just be warned: never try this on glass lenses, as it can cause tiny micro-fractures.
Important Takeaway: The goal here is to polish, not to grind away the lens. Your touch should be incredibly light. Let the mild abrasive do the work for you, because pressing harder will only create more widespread damage and potentially alter your prescription.
Once you've tackled the scratch, you'll want to get your lenses looking spotless. For a deeper dive into professional techniques and getting that perfect gleam, check out our guide on how to polish glasses.
Remember, these home remedies are strictly for minor scuffs on uncoated plastic lenses. If your glasses have anti-glare, blue light, or scratch-resistant coatings, these methods will strip them right off and ruin your lenses. If a gentle buff doesn’t solve the problem, it’s time to stop and look for a professional solution.
Surprising Hacks That Work in a Pinch
Sometimes, you just can't wait for a professional fix. Imagine you're a photographer on a shoot and you spot a scratch right in your line of sight. Or you’re about to walk into a crucial meeting and notice a scuff that's impossible to ignore. In these moments, you don't need a permanent repair; you just need clear vision, right now.
This is where a few temporary 'filler' methods can be a lifesaver. These surprising hacks don't actually remove the scratch. Instead, they work by filling in the tiny abrasion with a clear substance. This creates a smooth surface that lets light pass through cleanly without scattering. Think of it like a quick patch on a cracked road before it can be properly resurfaced.
It's absolutely vital to keep your expectations in check. These are short-term solutions designed to get you through an urgent situation, not a long-term strategy for lens care. They offer a quick, temporary boost in clarity when you're in a bind.
The Petroleum Jelly Quick Fix
One of the most effective temporary fillers is probably already in your bathroom cabinet: petroleum jelly. This simple staple is brilliant at filling in minor scratches on uncoated plastic lenses, making them far less visible for a few hours. It’s the perfect trick for a student who scuffs their glasses right before a big exam.
Scratches are an incredibly common problem. Amid Australia's booming eyewear market—set to grow from USD 3,590.6 million in 2025 to USD 5,845 million by 2034—an estimated 40% of users deal with them annually. This quick petroleum jelly hack is a practical answer. Just dab a tiny amount onto the scratch, let it sit for about five minutes to settle into the grooves, then gently buff off the excess with a clean microfibre cloth.
This simple action can optically smooth the surface, instantly improving vision clarity by up to 60% on the acrylic lenses common in 70% of local sales. This trick, even endorsed by some Melbourne eye clinics, can cut visual haze by 50%, potentially saving users around $200 yearly on new pairs. You can discover more insights about the Australian eyewear market and its trends to see just how big the issue is.
Using Car Wax as a Last Resort
Another surprisingly effective—though definitely more unconventional—filler is a non-abrasive car wax or even some furniture polishes. The key here is that the product must be a pure wax formula, completely free of any abrasive compounds that would only make things worse. The wax works just like petroleum jelly, filling the scratch to reduce light distortion and make it less noticeable.
Here’s a practical example of how to apply it with care:
- Start with a spotless lens. Make sure your glasses are perfectly clean and dry before you begin.
- Apply a minuscule amount. Put a tiny dab of wax on the tip of a cotton swab or a corner of your microfibre cloth. Less is more.
- Gently fill the scratch. Lightly rub the wax into the scratch using small, circular motions. Don’t apply pressure; you're just trying to fill the groove.
- Buff it clean. Let the wax sit for a few minutes, then use a clean part of the microfibre cloth to buff away all the excess until the lens is crystal clear. You should be left with absolutely no residue.
Focus on Eye Health and Safety: These filler methods are for emergency use only. Over time, the buildup of these substances can attract dust and oils, which could irritate your eyes or skin. Always clean the filler off completely at the end of the day with a proper lens cleaning solution to ensure your eyes remain healthy.
Remember, the goal of these hacks is to make a scratch less obvious, not to erase it. They are temporary measures that can truly save the day when you're in a pinch. However, for a lasting solution that ensures your visual health and comfort, nothing beats a professional repair or lens replacement. When you're ready for that permanent fix, we can customize an eye wear package to suit your requirements, getting you back to pristine clarity for good.
When to Stop and See a Professional
Let's be honest, DIY fixes are great for those tiny, barely-there scuffs. But there’s a definite point where you need to put down the baking soda and just stop. Knowing when a scratch is beyond a home remedy is probably the most crucial part of this whole process. Pushing it too far can cause permanent damage, creating weird visual distortions that are a hundred times worse than the original scratch ever was.
Your eye health and safety should always come first. When you're trying to see through deeply scratched lenses, your eyes are forced to work overtime, which can lead to nasty headaches and some serious eye strain. Learning to spot the red flags that scream "get professional help!" is the best way to protect your vision and your investment.
To make it simple, think of it like this:
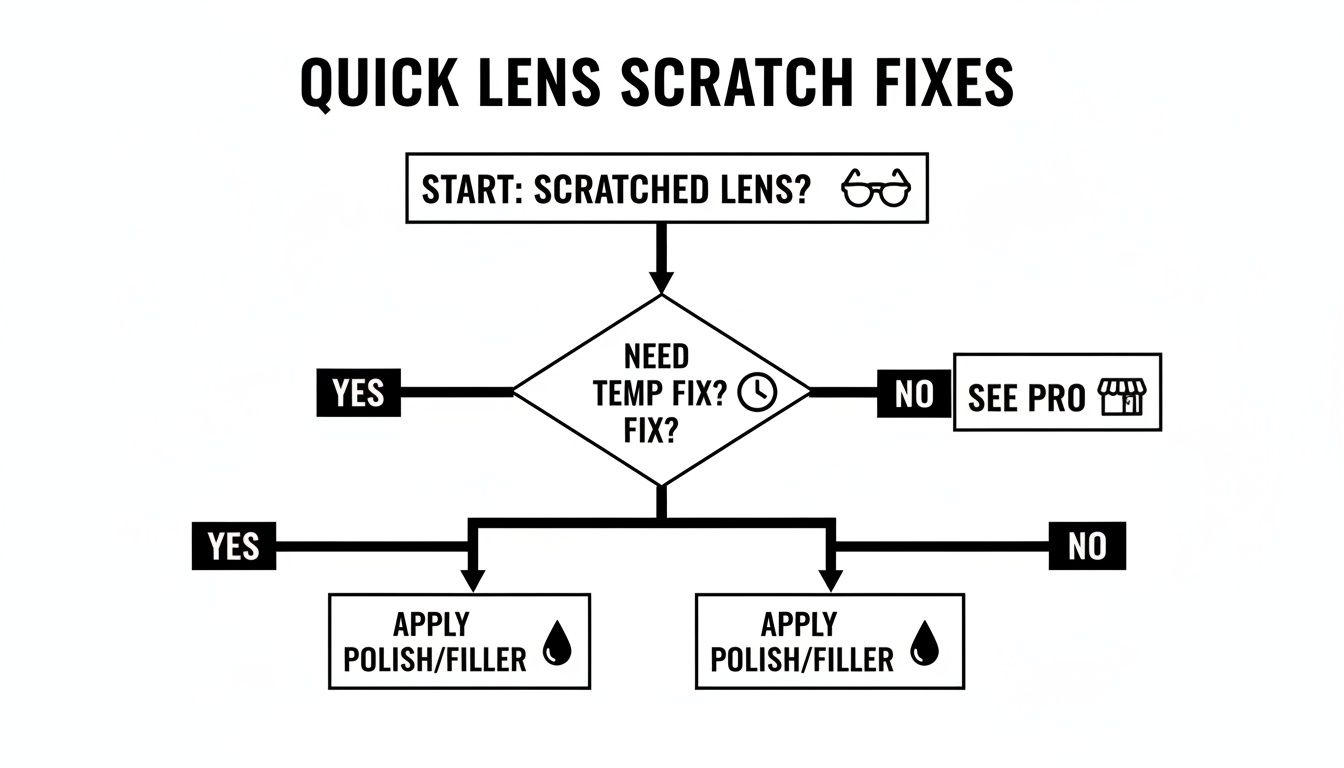
While a quick filler might seem like a good idea, for anything serious, professional repair or a full lens replacement is always the smarter, safer bet.
Red Flags That Demand an Expert Eye
Some types of damage are just not fixable with what you've got in your kitchen cupboard. If you spot any of the following, it’s time to call in the experts.
- Deep Gouges: This is the most obvious one. If you can actually feel the scratch with your fingernail, it's a deep gouge. These grooves are too severe to be buffed out. Trying to do so will just remove the lens material unevenly and totally mess up your prescription.
- Widespread 'Crazing': This looks like a fine web of tiny cracks spreading across the lens surface. It's usually a sign that the protective coatings on your lenses are failing, and there's no home remedy for that.
- Damaged Prescription Coatings: If you can see patches where a coating (like your anti-reflective or blue light filter) is peeling, bubbling, or has been stripped away, the lens is compromised. Any attempt to "fix" this will only strip away more of that essential coating.
Trying to polish out a deep scratch or a failing coating is like trying to fix a crack in your car's windscreen with a bit of soap. You might change how it looks for a minute, but you're not fixing the underlying structural problem and will probably make it much worse.
Repair or Replace? A Decision Guide
When you do seek professional help, you’re usually faced with two choices: polishing the existing lenses or replacing them altogether. It can be tough to know which path to take, especially when considering factors like cost, time, and the severity of the damage. Professional polishing might work for minor issues on uncoated lenses, but it's a risky game—it can subtly change the lens curve and alter your prescription.
For most situations, particularly if you have coated or prescription lenses, getting new lenses is by far the safest and most reliable option. To help you weigh your options, this table breaks down the key differences between getting your lenses professionally polished and opting for a full replacement.
| Issue | Professional Polishing | Lens Replacement (Prescript Glasses) | Recommendation |
|---|---|---|---|
| Minor Scuffs | Can sometimes work, but risks altering lens optics. | Guarantees a perfectly clear, accurate surface. | Replacement is the safest bet for prescription accuracy. |
| Deep Gouges | Not recommended; will absolutely distort the lens. | The only safe and effective solution. | Replacement is mandatory for clear vision. |
| Damaged Coatings | Impossible to fix; will only strip more coating off. | Fully restores all protective and visual benefits. | Replacement is the only way to get your lens function back. |
| Cost | Cheaper upfront, but a short-term fix at best. | A better investment in your long-term eye health. | Replacement offers far better value over time. |
Ultimately, choosing to replace your lenses ensures your vision stays sharp, clear, and properly protected. It might seem like a bigger step, but it's the right one for your eyes. For more details on what's involved, check out our guide to eyeglass lens replacement. It walks you through everything you need to know.
How to Keep Your Spectacles Scratch-Free
After looking at all the possible ways to fix scratches, it’s pretty clear that the best method is simply stopping them from happening in the first place. Protecting your eyewear isn't rocket science; it's just about building a few simple, mindful habits. Get these right, and you'll dramatically extend the life of your lenses and keep your vision clear and comfortable.
Think of it this way: good habits are your best defence. It all starts with how you handle and store your spectacles every single day. The main goal is to minimise contact with any surface that isn't a proper cleaning cloth or a protective case.
Build a Protective Routine
A few key habits can honestly make all the difference. Consider these the golden rules for keeping your vision pristine.
- Always Use a Hard Case: Your pocket, bag, or shirt collar is not a safe home for your glasses. A practical example is tossing your glasses into a purse with keys and coins—this is a primary cause of deep scratches. A sturdy, hard-shell case is really the only way to shield them.
- The Lenses-Up Rule: We've all done it—set our glasses down on a table for a moment. Just make it a habit to always place them with the lenses facing up. This tiny action prevents them from grinding against potentially abrasive surfaces.
- Mindful Handling: Get used to taking your glasses on and off with two hands. It feels a bit deliberate at first, but it stops you from accidentally bending the frames. Bent frames can misalign the lenses, increasing the risk of them popping out and getting damaged.
For that next level of protection, you could even look into dedicated lens protectors, which work much like the ones people use to safeguard their phone cameras. It’s an extra layer of security against whatever the day throws at you.
Smart Cleaning for Longevity
You'd be surprised how many scratches come from cleaning lenses the wrong way. That t-shirt hem or a bit of paper towel might seem harmless, but they're loaded with rough fibres that create thousands of tiny micro-scratches over time.
A perfect real-world example is what many gamers do. After a long session, they might grab the cloth that came with their headset to wipe their lenses. Big mistake. That cloth is likely covered in dust and oils. Instead, you should always use a clean, dedicated microfibre cloth and a spray specifically made for spectacle lenses. This combo ensures you're actually lifting debris away, not just grinding it into the lens surface.
Your cleaning routine is your first line of defence. Rinsing your lenses with lukewarm water before wiping can wash away larger dust particles that could otherwise be dragged across the lens, acting like sandpaper.
And when the time does come for a new pair, we’ve made the process incredibly simple. We can customize an eye wear package to suit your requirements. Just upload your current prescription, pick out the perfect frames and lenses for your lifestyle, and get ready to enjoy that flawless, scratch-free vision all over again.
Answering Your Questions About Scratch Removal
We get asked all the time about the best ways to fix scratched glasses. With so much conflicting advice floating around online, it’s no wonder people are confused. Let’s tackle some of the most common questions, keeping your eye health and safety front and centre.
A quick fix might sound great, but the wrong method can cause permanent damage to your lenses. This can lead to distorted vision and serious eye strain. It's crucial to get this right.
Can You Really Use Toothpaste on Your Lenses?
Honestly, this is a "hack" you should avoid on most modern glasses. The only time you might very cautiously try this is on basic, old-school plastic (polycarbonate) lenses that have absolutely no coatings.
Here's a practical example: if you used a gritty, whitening toothpaste on your anti-glare lenses, those abrasive particles would strip that delicate coating right off. The result would be a cloudy, blotchy mess that's far worse than the original scratch, creating dangerous glare when driving at night.
Will These DIY Methods Get Rid of Deep Scratches?
Unfortunately, no. Home remedies are only ever going to slightly reduce the appearance of the most minor, superficial scuffs on the lens surface. They work by polishing the area around the scratch, which simply doesn't work for deeper grooves.
Here's a good rule of thumb: if you can feel the scratch with your fingernail, it’s too deep for any DIY fix. Trying to buff it out will just wear down the surrounding lens material unevenly. This could easily alter your prescription and create serious vision problems. For anything more than a faint mark, replacement is the only truly safe option for your eye health.
A key thing to remember is that home remedies don't actually remove scratches; they just attempt to smooth the edges to make them less noticeable. This is only ever effective for the faintest of scuffs. For anything significant, you risk doing more harm than good to your vision.
What About Using Car Wax on My Glasses?
Putting a tiny bit of non-abrasive car wax on a scratch can act as a temporary ‘filler,’ making it less visible for a short time. But this is not a recommended or permanent solution. Think of it as a last-resort trick in an emergency, not a safe, long-term strategy for your vision.
The wax can also trap dirt and oils right against the lens, which could lead to skin irritation or eye infections. It’s simply not worth the risk to your health.
Your vision is far too important to gamble on a risky repair. At Prescript Glasses, we make getting crystal-clear, scratch-free lenses simple and affordable. We can customize an eye wear package to suit your requirements, ensuring your prescription is perfect and your vision is protected. Explore your options at https://www.prescriptglasses.com.